A useful football training diagram should answer the questions that appear when players arrive at the practice: Where does the exercise happen? Who starts with the ball? What is each team trying to achieve? Which movement should happen first?
The diagram does not need to show every touch or possible decision. Its job is to make the organisation and first actions obvious, so the coach can spend more time coaching the football problem and less time moving players into place.
To create a football training drill diagram, define one coaching outcome, mark a realistic practice area, add players and equipment, show the starting position of the ball, and use consistent arrows or zones for the essential actions. Add the scoring condition, key coaching points, and one progression. Remove anything that does not help the setup or decision, then export the image or animate the sequence when timing matters.
Make the setup clear before adding movement.
A good drill diagram shows where the practice begins, what counts as success, and which relationships matter.
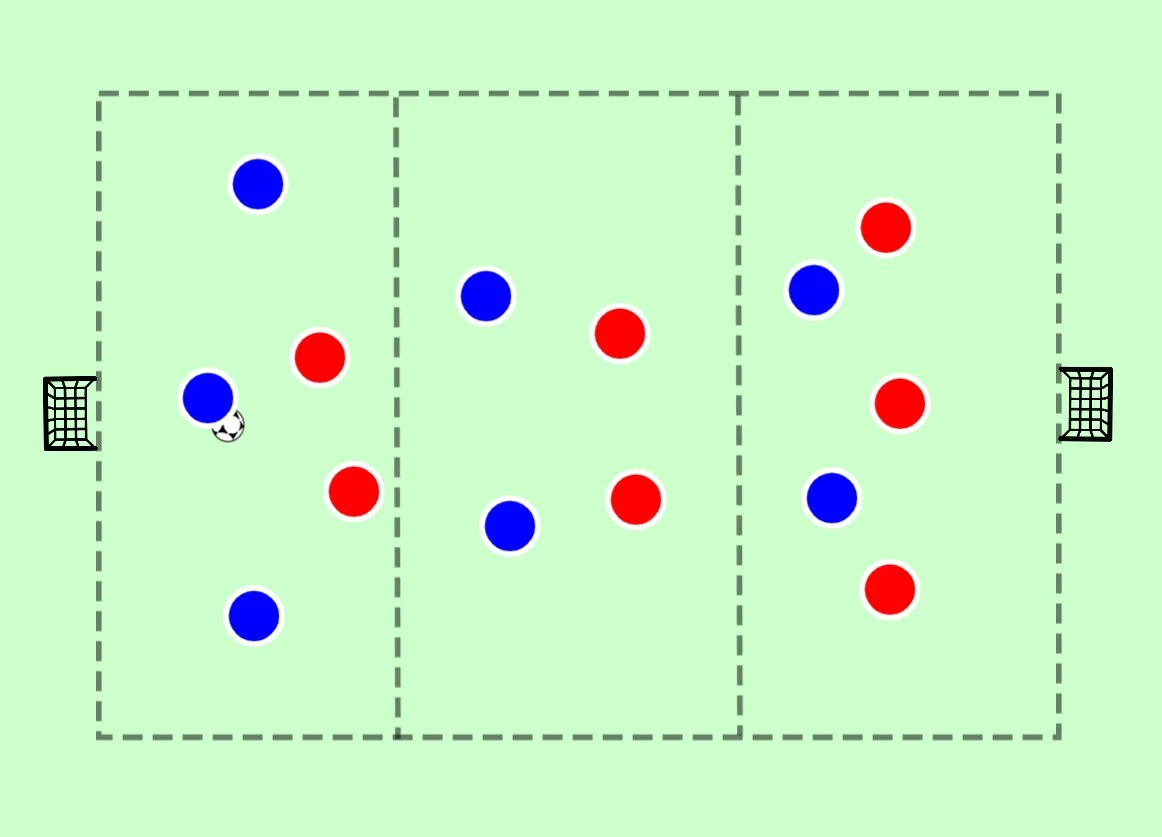
Start With the Coaching Outcome
Do not begin by browsing shapes, pitch templates, or other people's drills. Begin with the football behaviour you want to improve. “Passing” is too broad. “Recognise when to play through the central player” gives the diagram a purpose.
The outcome determines the players, space, direction, and opposition needed in the practice. If the outcome involves switching play, the area must provide two sides. If it involves defending the box, the diagram needs a goal and realistic attacking direction. If it involves pressure and cover, the practice must contain teammates and opponents close enough for those relationships to appear.
Planning question: What decision should players become better at making by the end of this practice?
England Football's guidance on planning for football training similarly recommends starting with intended outcomes and then considering the players, space, equipment, and ways to connect practice with matchday.
Build the Diagram in a Clear Order
Following the same order each time reduces omissions and prevents the diagram becoming cluttered before the organisation is clear.
- Define the outcome. Write the one football behaviour the practice should improve. This becomes the test for every element you add later.
- Choose the practice area. Select a full pitch, half pitch, final third, or blank training area. Mark zones only when crossing them changes a rule or decision.
- Add players and equipment. Place both teams, neutrals, goalkeepers, balls, cones, mini-goals, mannequins, or target areas. Include only equipment that exists in the real setup.
- Show the starting state. Put the ball where the first repetition begins and position every player before adding arrows. A coach should be able to recreate the setup from this still image.
- Add the essential actions. Use one visual meaning for each line style. Show the first pass, movement, or pressure, but avoid mapping every possible continuation onto the same image.
- Record rules and scoring. Explain how play starts, how teams score, when the practice resets, and any touch or zone conditions that are essential.
- Add one progression and regression. Make the challenge harder or easier without abandoning the original objective.
- Review and export. Remove unnecessary labels, check phone-size readability, and save the diagram for players or staff.
DrawTactics' free football session planner provides the pitch layouts, player markers, equipment, drawing tools, and export workflow for building these visuals in one place.
Use a Consistent Visual Language
The exact colours or line styles matter less than consistency. If a solid arrow means a pass in one diagram and a run in another, players must decode the notation before they can understand the football.
Use clearly different colours for opposing teams and keep neutral players visually distinct. Add names or position labels only when the identity of the role affects the practice.
Assign separate styles to passes, player runs, dribbles, and defensive movement. Explain the meaning once and repeat it.
Use cones and dashed boundaries for setup. Use shaded areas only when the space has a coaching purpose or rule.
Use arrows to show actions, not commentary. A single curved arrow can show the run. A short label can name the trigger. The detailed coaching explanation belongs beside the diagram or in the session notes.
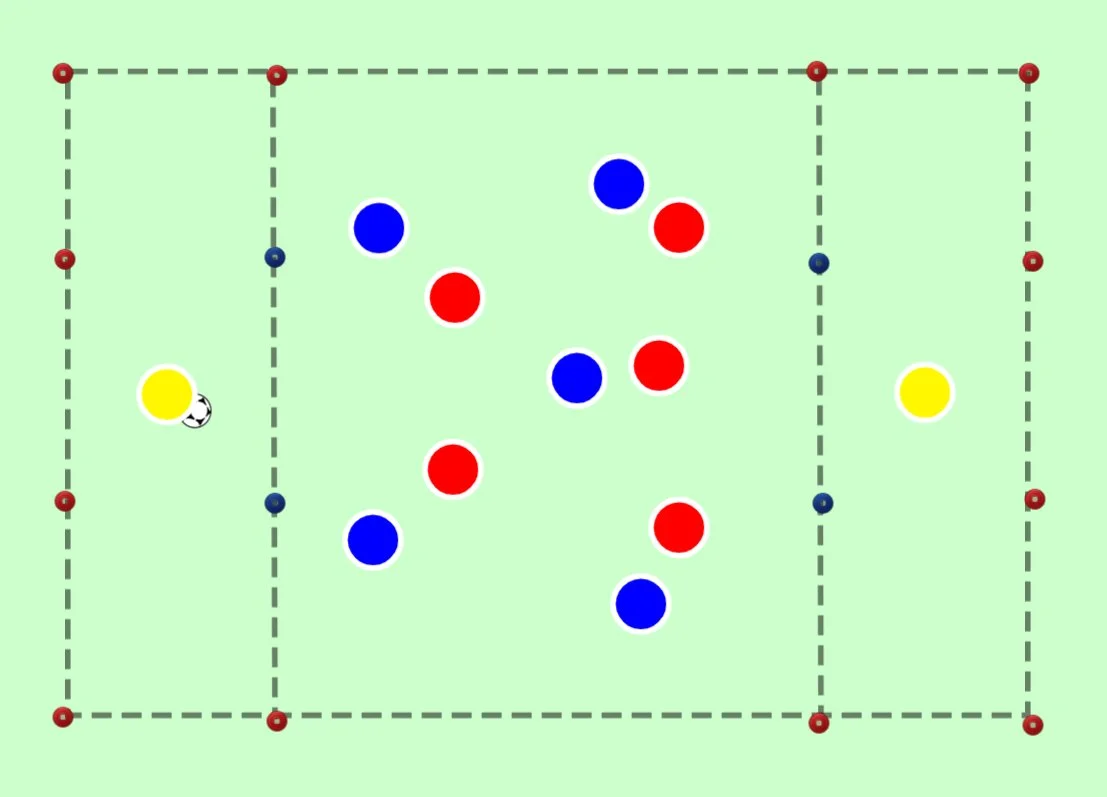
Worked Example: A Directional 5v5 Practice
The hero diagram can become a possession practice focused on playing through a central area. The diagram shows two teams, three vertical zones, a starting ball, and a mini-goal at each end. That is enough to understand the starting organisation before the coach adds rules.
- Outcome
- Recognise when to play through the central zone and support the next forward action.
- Organisation
- Two teams of five in a directional area divided into three vertical zones, with a mini-goal at each end.
- Start
- The coach serves to the team defending the left mini-goal. Both teams can score immediately after winning possession.
- Scoring
- Score by finding the mini-goal after the ball or a supporting player has connected through the central zone.
- Coaching
- Scan before receiving, create a passing angle on a different line, and move while the ball travels.
- Progression
- Allow the defending team to score double after regaining in the central zone, increasing the value of transition reactions.
- Regression
- Increase the width or add a neutral player in the central zone to create more passing access.
A diagram should not imply that the players must follow a fixed pattern. It defines the environment and makes the main problem visible. The practice still needs opponents, transition, direction, and enough freedom for players to make decisions.
The same principle applies to the youth pressing practice. The diagram establishes pressure, cover, and balance, while the game lets players decide when the trigger is secure.
Make the Diagram Readable at a Glance
Use separate images or animation steps for later actions instead of stacking an entire sequence onto the starting picture.
Name a role, cue, or rule. Move full explanations into the text beside the diagram.
Make players, arrows, cones, and text easy to distinguish from the pitch and from one another.
Goals, target players, or a simple label should make the attacking direction immediately obvious.
Give the diagram to another coach. If they cannot organise the area, players, and starting ball correctly, simplify or relabel it.
What belongs beside the diagram?
- The coaching outcome and why the activity supports it.
- Player numbers, area dimensions if required, and equipment.
- How play begins, how teams score, and how the practice restarts.
- Two or three coaching points linked to visible decisions.
- A progression, a regression, and a note on likely player numbers.
This supporting information turns the picture into a usable coaching resource. The guide to explaining tactics to players shows how to present the same visual without overwhelming the group.
Place Each Diagram Inside a Session
A session should not be a collection of unrelated diagrams. Each activity should help players revisit the same outcome under increasing pressure or in a more realistic game.
- Arrival activity
- Introduce the technical or perceptual behaviour with minimal interruption and plenty of involvement.
- Focused practice
- Use a clear diagram to organise the main problem and establish the first coaching language.
- Opposed progression
- Add defenders, direction, transition, or a scoring condition while keeping the original outcome visible.
- Small-sided game
- Remove unnecessary restrictions and check whether the behaviour survives in a recognisable football context.
- Review
- Ask players what they noticed, then record any adjustment needed before using the practice again.
Use a separate diagram for each main activity. A session overview can show order and timing, but squeezing four exercises onto one pitch usually makes every exercise harder to understand.
Plan the Full Training Session
Turn your objective into clear practice diagrams, organise progressions, and share the session with players and staff.
Use 2D, 3D, and Animation Deliberately
A 2D diagram is usually the clearest way to show precise organisation and spacing. A 3D-powered view can help players connect the abstract board with the perspective they recognise on the training pitch. Use both views for the same coaching message rather than adding detail for its own sake.
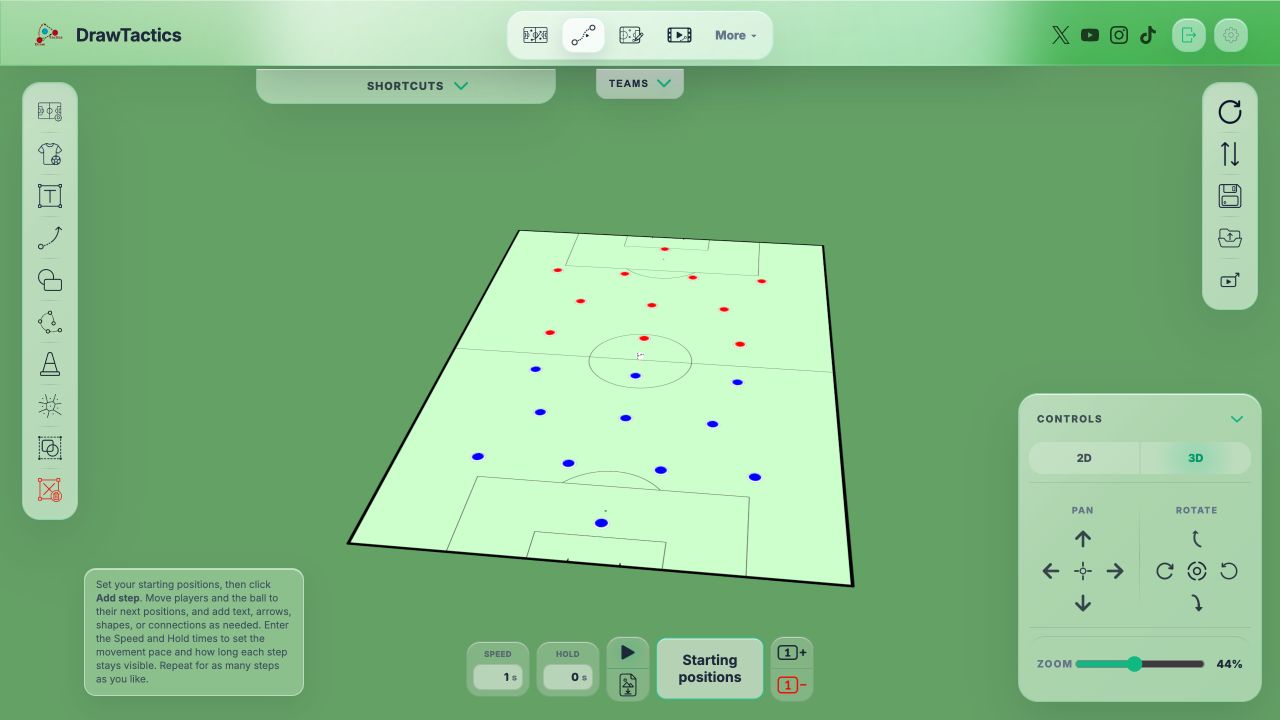
Animation becomes useful when the order of several actions matters. Examples include a third-player run, a pressing shift, a rotation between positions, or the movement that follows a set-piece delivery. Start the animation from the same clear setup used in the static diagram.
Animate only what timing changes
Use steps to show the first action, the response, and the resulting space. Keep rules, dimensions, and equipment in the static diagram or accompanying notes.
The guide to creating animated football tactics covers the complete animation and export workflow.
Common Drill-Diagram Mistakes
Drawing the activity before defining its purpose
A visually attractive exercise can still train an unrelated behaviour. Write the outcome first and remove elements that do not help it appear.
Adding too many arrows
Overlapping arrows usually describe a pattern rather than a practice. Separate the sequence into steps or show only the first action players need to recognise.
Leaving out the starting ball
The ball position determines the initial roles and direction. Show whether play starts from a coach, goalkeeper, neutral player, or team in possession.
Using zones without a purpose
Every boundary should affect scoring, player positioning, or a decision. Decorative zones create rules players cannot connect to the outcome.
Forgetting transition
If the practice continues after possession changes, show the targets and direction available to both teams. Players should know what happens immediately after a regain.
Making the image readable only on a laptop
Coaches and players often view plans on phones or messaging apps. Export the diagram, shrink it, and confirm that labels and team colours remain clear.
Frequently Asked Questions
What should a football drill diagram include?
Include the practice area, player numbers and teams, starting positions, ball position, required equipment, movement or passing routes, direction, scoring condition, and the most important coaching points.
How do you make a football drill diagram easy to understand?
Show the starting state first, use consistent colours and line meanings, keep labels short, and remove details that do not affect the practice. Check that the diagram remains readable on a phone.
Should a football drill diagram be 2D or 3D?
Use 2D when precise spacing and organisation are the priority. Use a 3D view when perspective helps players recognise the picture they will see on the pitch. Both views can describe the same exercise.
When should you animate a football drill?
Animate a drill when the order, speed, or timing of several movements is difficult to understand from one image. A static diagram is normally better for the initial setup and rules.
Can one diagram show a complete football training session?
A session overview can show the order and timing of activities, but each main practice should have its own uncluttered diagram. Separate diagrams make setup, coaching, and changes easier to understand.
Final Diagram Checklist
- Is the coaching outcome specific and visible in the practice?
- Can another coach recreate the area and starting positions?
- Are the ball, teams, direction, and targets immediately clear?
- Does every arrow, zone, or label have one consistent meaning?
- Are the scoring condition and restart explained?
- Can the exercise become easier or harder without losing its purpose?
- Does the exported diagram remain readable on a phone?
The best football training drill diagrams are not the most detailed. They are the ones a coach can set up accurately and players can understand quickly. Start with the outcome, show the first picture clearly, and add only the information needed to bring the football problem to life.