Pass and Move Drill
A pass and move drill asks one thing of every player: never stand still after you've passed. Two teams share the same area, each keeping its own ball moving, so players have to find space, look around and pass through the traffic of the other team.
- AgesU8 to adult
- Players6 to 16
- Space20 × 20 m
- Time10 min
- IntensityMedium
It's an unopposed drill, but it's busy, and that makes it a good bridge between a static passing pattern and a real possession game. Use it early in a session to raise the tempo and get players scanning before they receive.
Setup
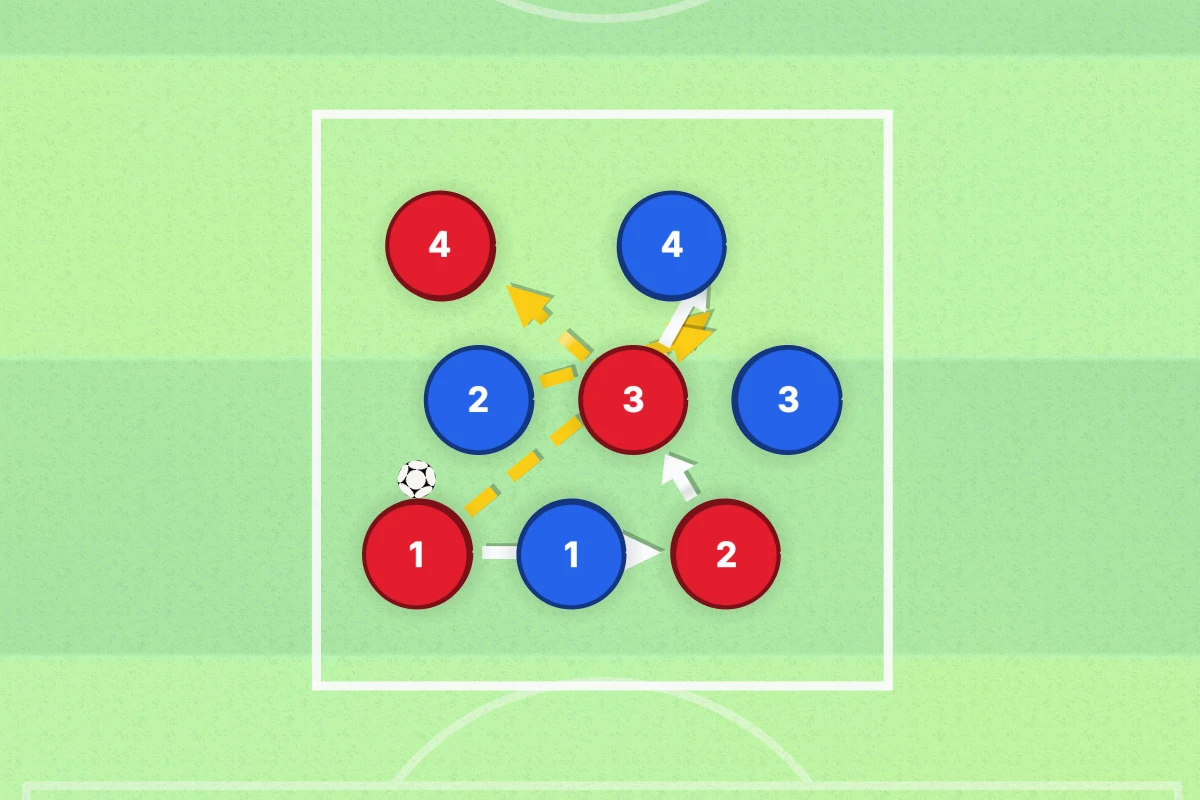
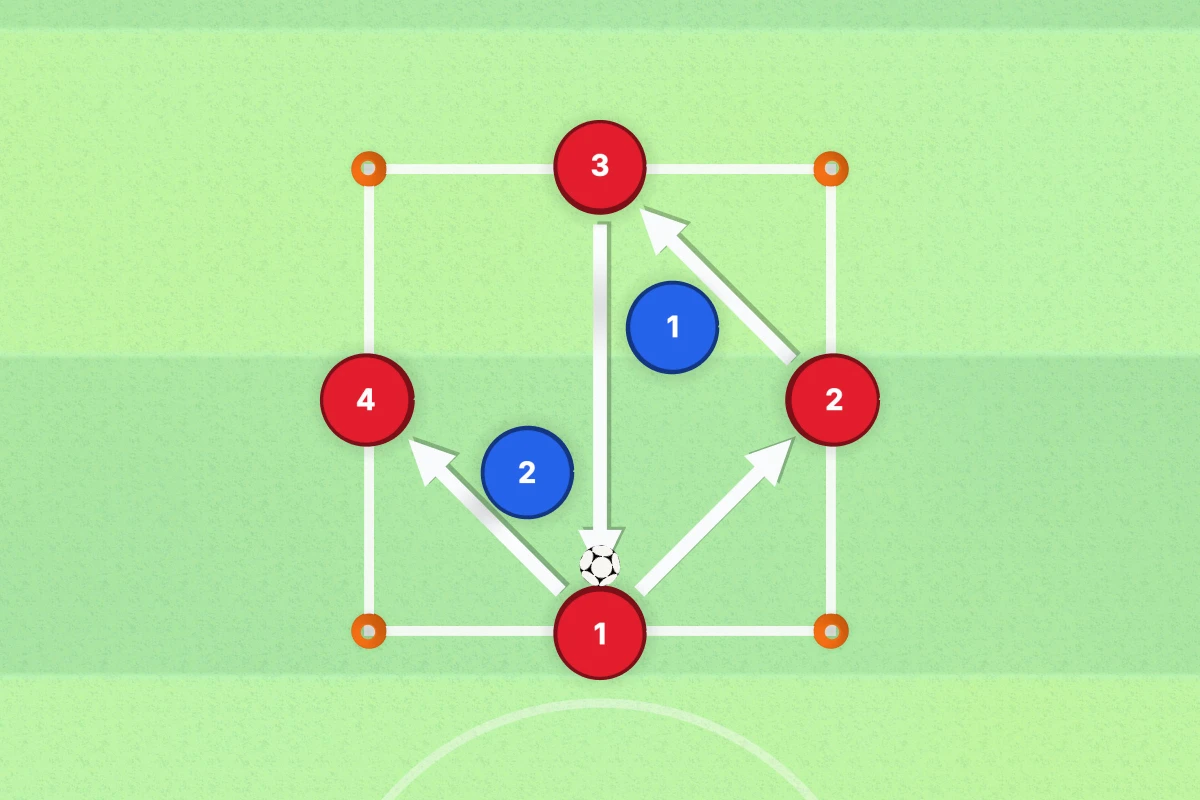
Mark out a 20 × 20 m area. Split 8 players into two teams of 4 in different colored bibs and give each team a ball. Each team passes only among its own players, and anyone who passes must move to a new space straight away. (The animation follows the Reds' ball; the Blues pass their own ball around them at the same time.)
- Equipment4 cones, 1 ball per team, 2 sets of bibs
How it works
- A red passes to a teammate and immediately runs into open space, while a blue player moves through the area with their own team's ball in play (the animation follows the Reds' ball).
- The receiving red passes on to a third teammate and spins off into another gap as a second blue moves across.
- The third red finds the first passer, who is now free in their new space, and moves off again.
Coaching points
- Move straight after every pass, into space and away from the ball
- Look around before you receive so you already know your next pass
- Firm passes to feet, softer ones into space
- Ask for it with your voice and an arm
- Pass through the other team's traffic, not into it
Make it harder
- Two-touch limit
- The other team's players become passive defenders
- You can't pass back to the player who passed to you
Make it easier
- Bigger area
- Stop and pass before moving
- One team works while the other stands still as obstacles
Adapting it by age
U8–U10
Use 25 × 25 m with teams of 3 and unlimited touches, and give a point for every pass where the passer moves before the ball arrives.
U12–U14
Teams of 4 in 20 × 20 m, two touches, and no return passes to the player who just gave it to you.
U15 to adult
Teams of 5 or 6 in 15 × 15 m, one or two touches, with the other team's players acting as passive defenders who can block passing lanes.
Common mistakes
Players pass and then watch the ball. Freeze play and point out the player who's still standing where they passed from; one or two freezes usually fixes it.
Teams pass in the same small triangle and the rest of the area stays empty. Add the no-return-pass rule, or ask for a pass to every teammate before repeating anyone.
The area is too big, so there's no traffic to deal with. Shrink it until players have to look before every pass; the busier it is, the more they scan.
FAQ
What is a pass and move drill?
Any drill where players have to move to a new position after passing. Two teams sharing one area is the most common version because it adds traffic without adding tackles.
How many balls should there be?
One per team to start. With older players add a second ball per team to make them scan more.
Make this drill your own
Open the pass and move drill in DrawTactics to change the numbers and the size of the area, move the players, and export your own animation or diagram for your team. Or add it to a free session plan and print it.
Animate it in DrawTacticsRelated drills
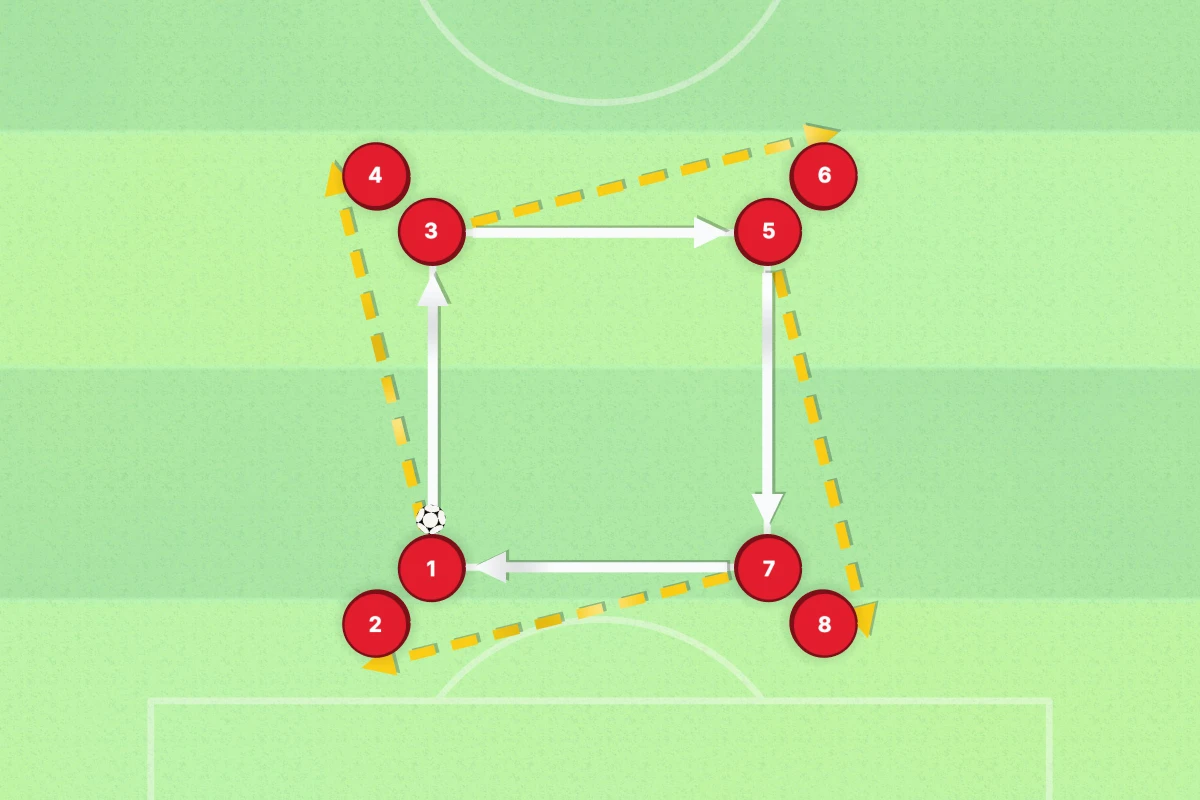
Passing Square Drill
Pass and follow round a square of cones.
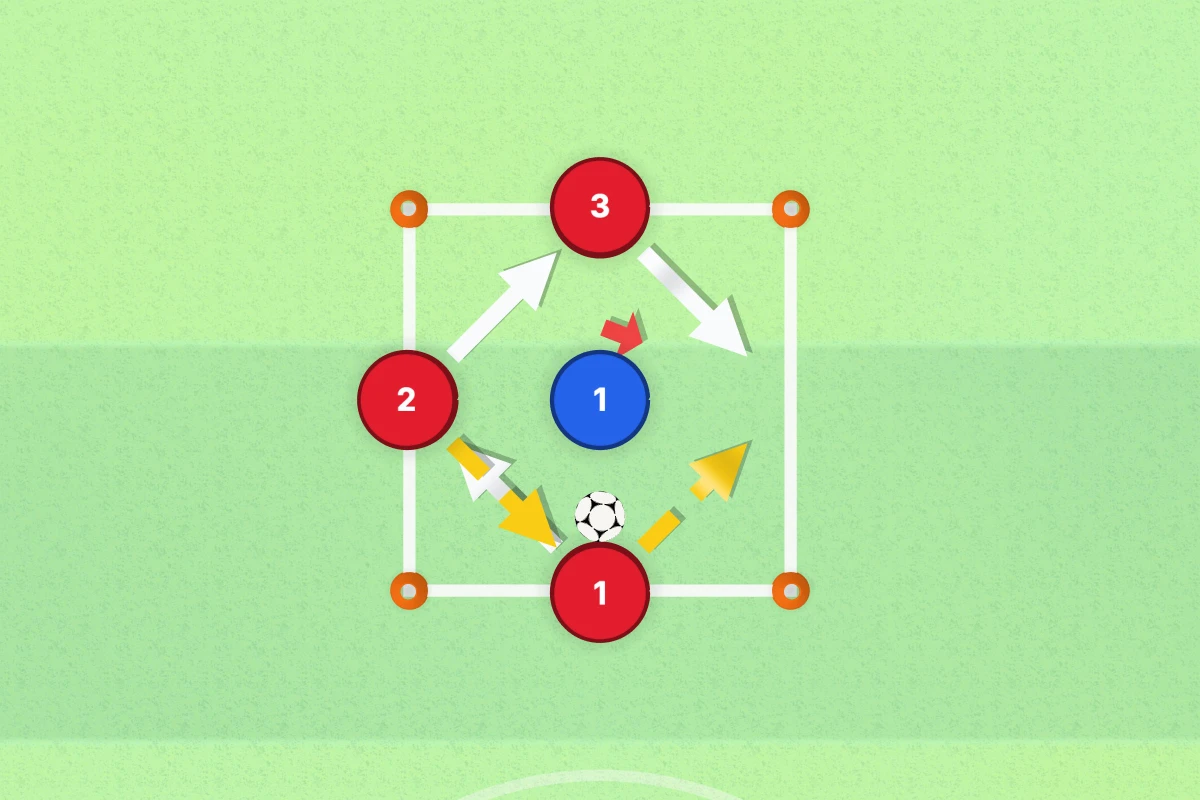
3v1 Rondo
Three keep the ball from one in a small box.
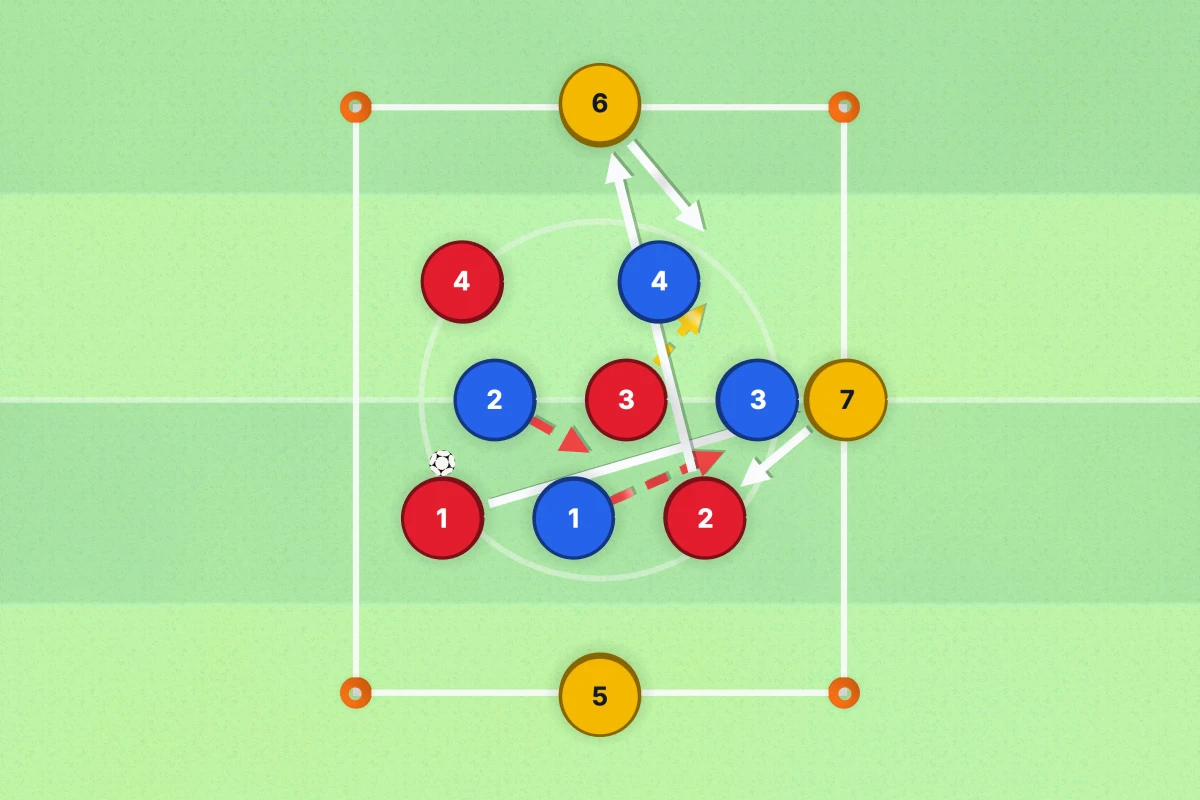
Possession Drill with Neutrals (4v4+3)
Keep the ball with the help of neutrals who play for whoever has it.
4v2 Rondo
Keep the ball round the outside against defenders in the middle.
More in passing drills, warm-ups drills, or browse the full drill library.